I’m finally over having my butt kicked by Strep Throat, so it is time to get back to my Pioneering ways, by building some Self Watering Containers out of 5 gallon pickle buckets. I’ve seen this project in several books and magazines and have been excited to give it a shot. I especially like re purposing an item that would otherwise find it’s way into a landfill and making it into something functional.
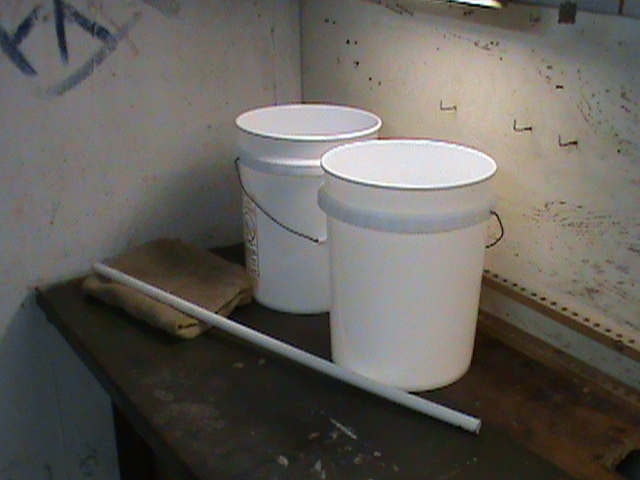
The first step in this little adventure is scaring up some buckets. I’ve got plenty of kitty litter buckets, since my cats are great at filling up their litter boxes, but I didn’t want to use them since I don’t even want to think of kitty litter any where near my food production. I hounded the baker at my local Stop and Shop but he wasn’t able to come through for me. My Amazing Sister-in-Law was able to get me pickle buckets. They are great with only one fault…they REEK of dill pickles. Now I love a good Kosher dill as much as the next guy, but these things stink! I’m very happy to have them outside again.
For this project I needed:
2 5 gallon buckets (food grade)
A piece of burlap
A length of PVC pipe
A smaller plastic container (I used a Wonton Soup Container)
A couple of zip ties
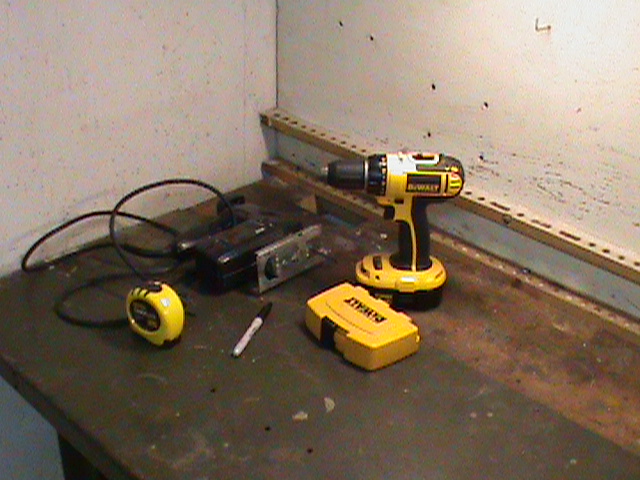
As far as tools go:
Scrollsaw
Drill
1/4″, 1/2″ Drill bits
A file
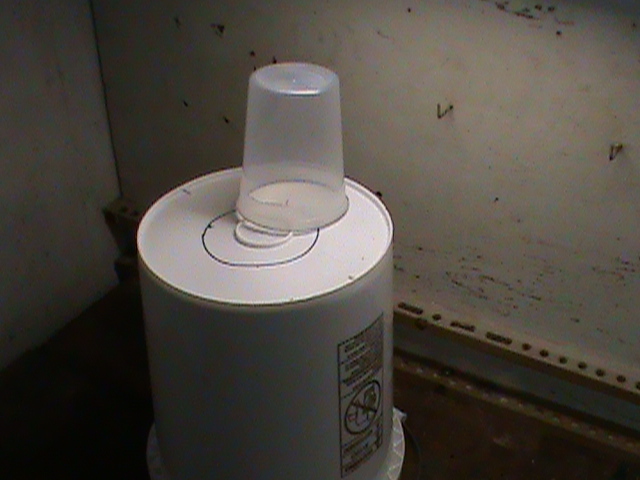
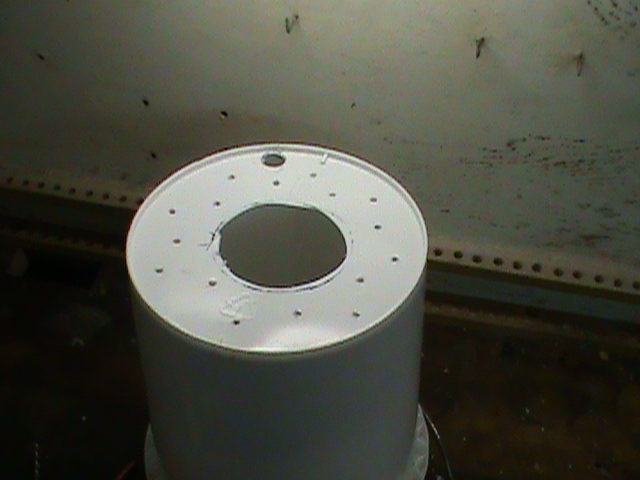
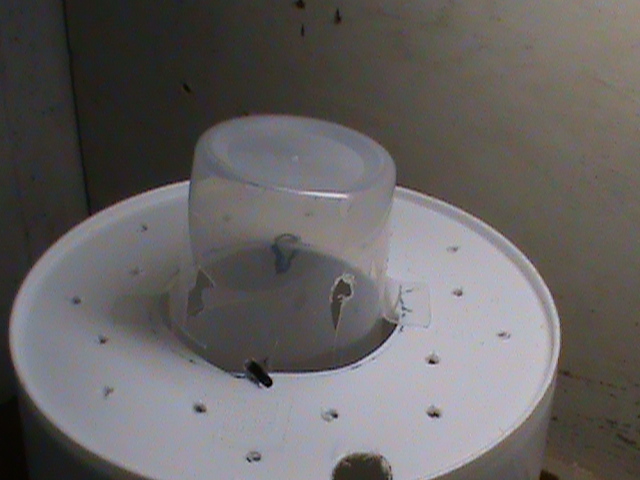
I got started by tracing the outline of the smaller container on the bottom of one of the buckets. I drilled a small starter hole and then used the Scrollsaw to cut out the traced hole. I then drilled 10-12 1/4″ holes in the bottom of the bucket. I also cut anther hole big enough for thr PVC pipe to fit though. I used a file to clean up the bigger cut holes a bit.
Next I drilled 6 1/2″ holes in the soup container. I then put it through the larger hole I had cut and used a few zip ties to hold it in place.
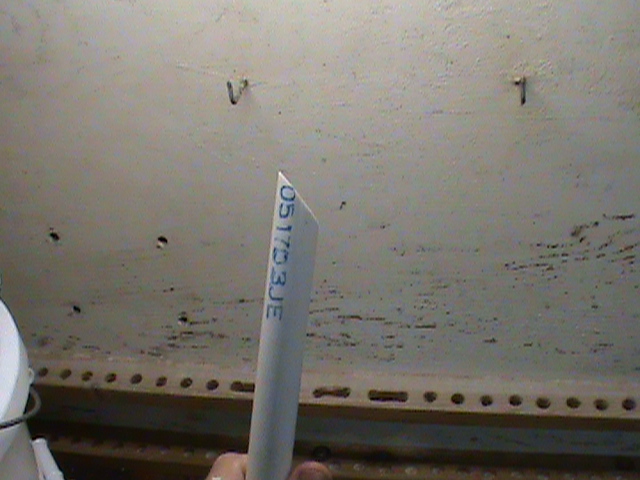
After this I put my modded bucket into my so far un-molested bucket. I put a little slash cut on my length of PVC pipe.
I then inserted my pipe through the hole I had cut earlier. I took the piece of burlap and put it into the soup container. I arranged it fairly nicely without going nuts. I was going to sow it in nicely but nixxed that idea ( maybe on SWC Mark 1 Mod 1). I filled my bucket with potting soil, I’ve read that regular soil won’t wick the water out of the chamber on the bottom. I was careful to dampen it as I put it in. I then filled the water chamber through the PVC pipe. This is when I realized that I hadn’t drilled a metering hole to tell if the chamber was full. I was able to see through the buckets to where the inner bucket ended, and drilled a small hole a smidge below that.
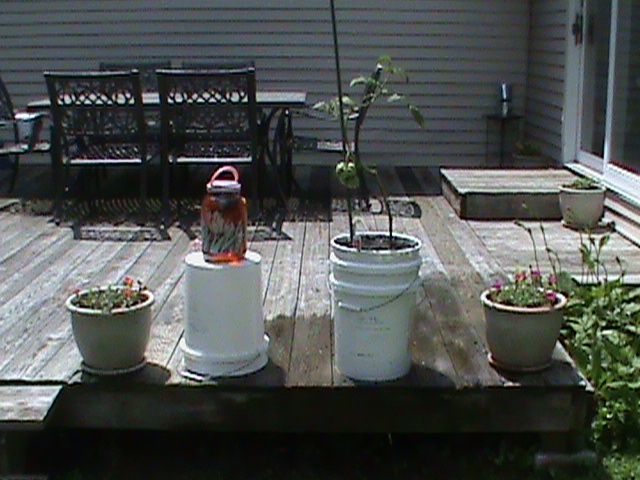
The finished product is pretty sweet. I like that it should be pretty maintenance free. I also like the fact that it re-purposes throw away items. I will be making more of these in the future, I do have a few of my own ideas to add, so keep an eye out for a future blog on my mods.
As seen on Frugally Sustainable
Affiliate Disclosure: I am grateful to be of service and bring you content free of charge. In order to do this, please note that when you click links and purchase items, in most (not all) cases I will receive a referral commission. Your support in purchasing through these links enables me to keep the content train rolling



You can pick up new inexpensive buckets with lids at Home Depot.
I looked at those but couldn’t pass up getting buckets for free!
Mike! This post is so informative! I have it bookmarked in hopes of making several of these come early spring. Thank you so very much for linking up to Frugal Days, Sustainable Ways:) It is my sincere hope that you will continue to make Frugal Days, Sustainable Ways a part of your Wednesdays! Keep the great posts comin’:)
Blessings,
Andrea
http://www.frugallysustainable.com
Thank you for the kind words. I hope to keep Frugal Days, Sustainable Ways a regular part of my week.
I like your ingenuity and upcycling, but I have to confess that I can’t figure out how these work. Is this to catch rain water and then allow the plant to ciphon up the amount that it needs? Would you mind explaining the concept for people like me who don’t get it? 🙂
Thanks for stopping by, Sandi. Sorry for any confusion with how the SWC works. In a nutshell the yogurt container is hanging down into the water contained in the outside bucket. This acts as a wick and draws the water up and into the plant. The pvc tube is how you fill the water chamber.
Mike, there is nothing wrong with ‘clean’ litter! Think of it like oil dry.
I’ve made so many and just cleaned several older ones up to use again this year. Here in Illinois it doesn’t pay to get started too early so I wait until after Memorial Day to plant outside. I have several ‘bucket’ videos on my YouTube channel showing the growing progress for anyone wanting to see the results of ‘bucket’ growing. This one shows how I made mine, very similar to what you have done. Hope you have a bumper crop this year.
http://www.youtube.com/watch?v=UkNd0yuhfTs
Thanks, for the info Gene.
I have 4 SWC’s built on this concept. The first year was not a success.
Research showed the soil mix is very important. at least 1/5 of soil mix needs to be vermiculite. and dont forget the slow release fertilizer.
Nice thing is you can move them to take advantage of maximum sunshine.
I use 1/3 Vermiculite to 2/3 Compost in my SWC. It has worked pretty well for me. My first year was awesome, the second year not so much. Now I refresh my soil every year with new compost and it is working out.